Prerequisites for new users
Please, make sure you have:
- a proper power supply according to the board manufacturer requirements (basic usage example: 5V/2A with DC Jack barrel OR thick USB cable)
- a reliable SD card (see below “How to prepare a SD card?”)
What to download?
For each board we usually provide:
- one CLI Debian and one CLI Ubuntu based server image,
- one desktop Ubuntu Xenial or Debian Stretch
Some boards have different options due to their hardware specialities - router or IoT boards.
Legacy or mainline?
Both kernels, where exists, are stable and production ready, but you should use them for different purpuses since their basic support differs:
legacy: video acceleration, NAND support, connecting displays
mainline: headless server, light desktop operations
What are testing images?
- made from stable branches
- not very well tested
- for end users
What are experimental images?
- made from unstable branches,
- unstested,
- for experienced users only.
Don’t use them for anything productive but to give constructive feedback to developers.
How to check download authenticity?
All our images are digitally signed and therefore it’s possible to check their authenticity. You need to unzip the download package and issue those commands (Linux/macOS, you might need to install dependencies first, eg. apt-get install gnupg p7zip on Debian/Ubuntu or brew install gnupg p7zip on macOS):
# download public key from the database
gpg --keyserver pgp.mit.edu --recv-key DF00FAF1C577104B50BF1D0093D6889F9F0E78D5
gpg --verify Armbian_5.18_Armada_Debian_jessie_3.10.94.img.asc

# proper response
gpg: Signature made sob 09 jan 2016 15:01:03 CET using RSA key ID 9F0E78D5
gpg: Good signature from "Igor Pecovnik (Ljubljana, Slovenia) <igor.++++++++++++@gmail.com>"

# wrong reponse. Not genuine Armbian image!
gpg: Signature made Sun 03 Jan 2016 11:46:25 AM CET using RSA key ID 9F0E78D5
gpg: BAD signature from "Igor Pecovnik (Ljubljana, Slovenia) <igor.++++++++++++@gmail.com>"
It is safe to ignore the message WARNING: This key is not certified with a trusted signature!.
How to check download integrity?
Since it might happen that your download got somehow corrupted we integrate a checksum/hash for the image. After uncompressing the download you can compare the image’s SHA-256 hash with the one contained in the sha256sum.sha file. On Windows you can use 7-Zip’s built-in hash functionality to display the SHA256 hash while on Linux/macOS you would do this
shasum -a 256 -c sha256sum.sha Armbian_*.img
Armbian_5.35_Clearfogpro_Debian_stretch_next_4.13.16.img: OK
^C
How to prepare a SD card?
Important note: Make sure you use a good, reliable and fast SD card. If you encounter boot or stability troubles in over 95 percent of the time it’s either insufficient power supply or related to SD card (bad card, bad card reader, something went wrong when burning the image, card too slow to boot – ‘Class 10’ highly recommended!). Armbian can simply not run on unreliable hardware so checking your SD card with either F3 or H2testw is mandatory if you run in problems. Since counterfeit SD cards are still an issue checking with F3/H2testw directly after purchase is highly recommended.
7z and zip archives can be uncompressed with 7-Zip on Windows, Keka on OS X and 7z on Linux. Images shall only be written with Etcher on all platforms since unlike other tools Etcher validates burning results saving you from corrupted SD card contents.
Also important: Almost all SD cards are only optimised for sequential reads/writes as it’s common in digital cameras. This is what the speed class is about. And while you shouldn’t buy or use any card rated less than class 10 you should especially take care to choose one that is known to show high random I/O performance since this is way more performance relevant when used with any SBC. Even cards advertised as being ‘high speed’ can show horribly low random IO performance in reality.
You won’t be wrong picking one of these:
In case you chose an SD card that was already in use before please consider resetting it back to ‘factory default’ performance with SD Formatter before burning Armbian to it (explanation in the forum). Detailed information regarding ‘factory default’ SD card performance:
- SD card performance with Armbian - Thomas Kaiser
- Raspberry Pi microSD card performance comparison - Jeff Geerling
- The Best microSD Card - Kimber Streams
How to boot?
Insert SD card into a slot and power the board. (First) boot (with DHCP) takes up to 35 seconds with a class 10 SD Card and cheapest board.
How to login?
Login as root on console (HDMI / serial) or via SSH and use password 1234. You will be prompted to change this password at first login. You will then be asked to create a normal user account that is sudo enabled (beware of default QWERTY keyboard settings at this stage). Please use this tool, to find your board IP address.
Desktop images start into desktop without asking for password. To change this add some display manager:
apt-get install lightdm
… or edit the contents of file:
/etc/default/nodm
and change the autologin user.
How to update?
apt-get update
apt-get upgrade
Update process can take hours in case of using cheap SD card and/or under heavy load.
If the kernel was upgraded during this process you will be prompted to reboot at next login.
How to adjust hardware features?
Use Armbian configuration utility.
How to install to eMMC, NAND, SATA & USB?

Required condition:
NAND:
- kernel 3.4.x and NAND storage
- pre-installed system on NAND (stock Android or other Linux)
eMMC/SATA/USB:
- any kernel
- onboard eMMC storage
- attached SATA or USB storage
Start the install script:
nand-sata-install
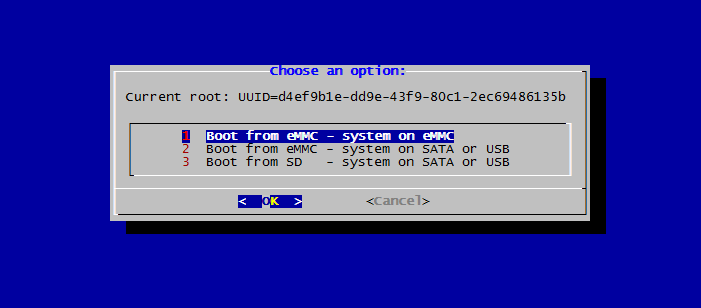
and follow the guide. You can create up to three scenarios:
- boot from SD, system on SATA / USB
- boot from eMMC / NAND, system on eMMC/NAND
- boot from eMMC / NAND, system on SATA / USB
and you can choose the following file system options:
- ext2,3,4
- btrfs
On Allwinner devices after switching to boot from NAND or eMMC clearing the boot loader signature on the SD card is recommended: dd if=/dev/zero of=/dev/mmcblkN bs=1024 seek=8 count=1 (replace /dev/mmcblkN with the correct device node – in case you run this directly after nand-sata-install without a reboot in between then it’s /dev/mmcblk0). When booting from eMMC to get SD cards auto-detected on Allwinner legacy images please consider changing mmc0‘s sdc_detmode from 3 to 1 in the board’s fex file (see here for details).
How to connect to wireless?
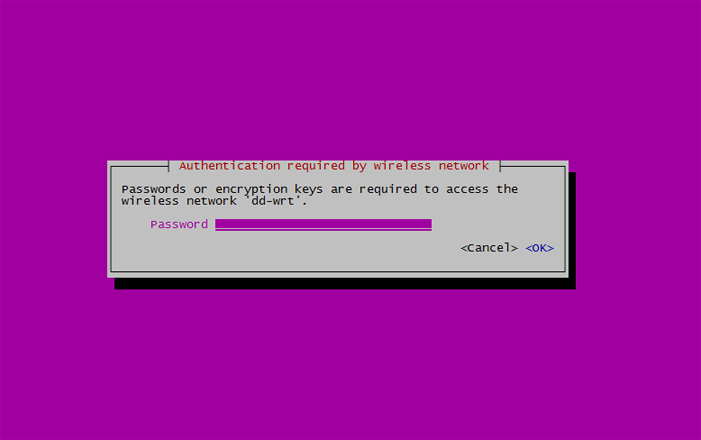
Required condition: a board with onboard or supported 3rd party wireless adapter on USB
If you know what is your wireless SSID:
nmtui-connect SSID

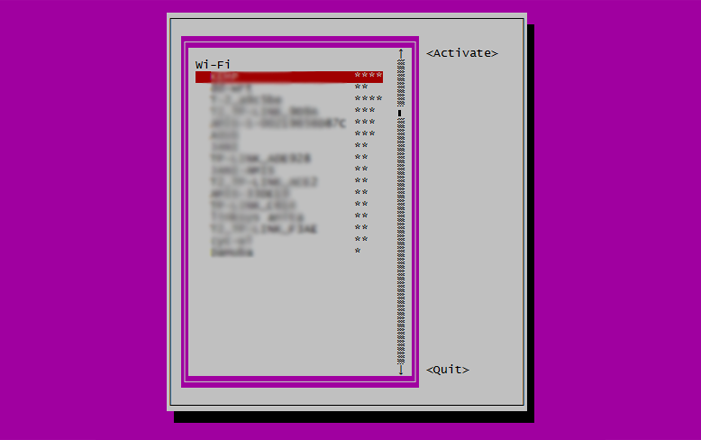
If you don’t know, you can browse and then connect
nmtui-connect

How to set fixed IP?
By default your main network adapter’s IP is assigned by your router DHCP server.
Edit /etc/network/interfaces and change from:
iface eth0 inet dhcp
to - for example:
iface eth0 inet static
    address 192.168.1.100
    netmask 255.255.255.0
    gateway 192.168.1.1


